Ok Ok Ok Ok... this is probably one of my favorite things I've ever DIYed. Like, ever. For a few reasons... 1. It was a gift to someone I love (that always makes things more special) 2. I love music 3. It was made with real antique sheet music soooo, that's cool!

A little back story...
I was gearing up for Blain's 27th birthday and I. love. giving. gifts. I love to give presents that have MEANING behind them, not just something I ran in the mall to pick up. And a little background, Blain works in the music industry here in Nashville. He is passionate about music in every sense of the word. He loves it. He loves listening to it. He loves lyrics. (I could keep going but you catch my drift) So when I started this project, I just knew he'd love it.
I came up with this idea after seeing some similar projects on Pinterest (obviously my favorite site in the world). So I set out looking for a little table, preferably cheap, preferably with some cool curves or drawer, and I excitedly found just that!
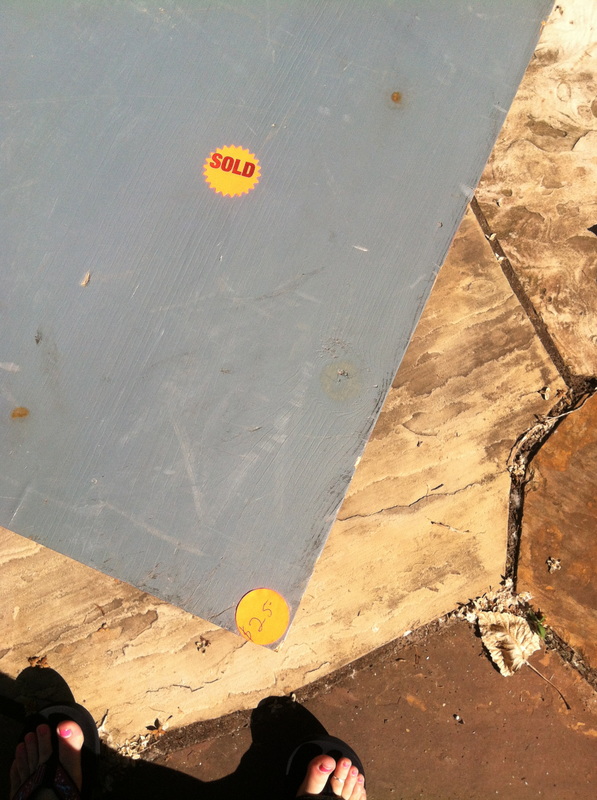
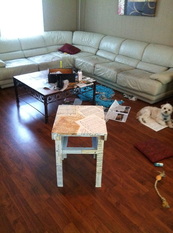
Blain and I were actually at the Nashville flea market together (um... the Nashville flea market is THE best thing ever, so if you're ever in town, you must go). I spotted this little table from across like 4 vendors, ran over to it, and saw it's sticker price was only $25! Yahoo! Of course, I've never paid full price at a flea market, ever... so I bargained with the guy a bit, and walked away with this cute little blue table for $15. (At that point, Blain thought I was crazy bc he had no idea why I would want a tiny little blue old table... but I just kept telling him not to worry about it - also, it was like 2 months before his birthday so he was completely clueless, why would I be buying him a small blue table 2 months before his birthday?!)
Anyway - below I'll document the process on how to make your own music sheet covered table! Because trust me, you'll want to do this. It's soooooo freaking adorable, how could you not?
My supply list:
-A piece of furniture
-Sandpaper or a sander
-White spray paint or primer
-Black spray paint *optional*
-Mod Podge (either flat or glossy, your preference)
-A paint brush or spongy brush (what is the technical term for those sponge-like brushes?)
-Sheet music (antique sheet music or just print some sheet music & antique it for dimension)
-Scissors
-MiniWax Polyurethane Fast Drying Spray
I was gearing up for Blain's 27th birthday and I. love. giving. gifts. I love to give presents that have MEANING behind them, not just something I ran in the mall to pick up. And a little background, Blain works in the music industry here in Nashville. He is passionate about music in every sense of the word. He loves it. He loves listening to it. He loves lyrics. (I could keep going but you catch my drift) So when I started this project, I just knew he'd love it.
I came up with this idea after seeing some similar projects on Pinterest (obviously my favorite site in the world). So I set out looking for a little table, preferably cheap, preferably with some cool curves or drawer, and I excitedly found just that!
Blain and I were actually at the Nashville flea market together (um... the Nashville flea market is THE best thing ever, so if you're ever in town, you must go). I spotted this little table from across like 4 vendors, ran over to it, and saw it's sticker price was only $25! Yahoo! Of course, I've never paid full price at a flea market, ever... so I bargained with the guy a bit, and walked away with this cute little blue table for $15. (At that point, Blain thought I was crazy bc he had no idea why I would want a tiny little blue old table... but I just kept telling him not to worry about it - also, it was like 2 months before his birthday so he was completely clueless, why would I be buying him a small blue table 2 months before his birthday?!)
Anyway - below I'll document the process on how to make your own music sheet covered table! Because trust me, you'll want to do this. It's soooooo freaking adorable, how could you not?
My supply list:
-A piece of furniture
-Sandpaper or a sander
-White spray paint or primer
-Black spray paint *optional*
-Mod Podge (either flat or glossy, your preference)
-A paint brush or spongy brush (what is the technical term for those sponge-like brushes?)
-Sheet music (antique sheet music or just print some sheet music & antique it for dimension)
-Scissors
-MiniWax Polyurethane Fast Drying Spray
Here are the steps in a nutshell:
Step 1) Get your supplies ready and find your piece of furniture.
Step 2) Sand
Step 3) Prime/Paint
Step 4) Find or create your sheet music
Step 5) Lay sheet music out on the main surface of furniture
Step 6) Mod Podge the crap out of it
Step 7) Spray with Poly
Step 8) Drool over your new table
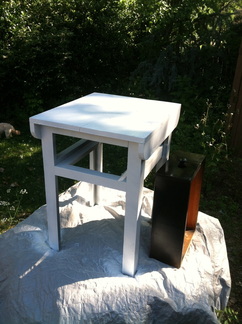
Step 1) Find a piece of furniture you want to turn into a music sheet piece of fabulousness. I chose a little side table that Blain could put in his office (since he works in the music industry, it just seemed like the right place). You could do a dresser, a coffee table, a chair.. I mean, the list is endless.
Step 1) Find a piece of furniture you want to turn into a music sheet piece of fabulousness. I chose a little side table that Blain could put in his office (since he works in the music industry, it just seemed like the right place). You could do a dresser, a coffee table, a chair.. I mean, the list is endless.


[[[[ Can we take a moment and zoom into the background on the first picture there? That's Barkley. And he was mid-leap when this photo was taken. And it's pure greatness. ]]]]
Okay - anyway - back to the tutorial...
Step 2) Sand your piece of furniture. You don't have to sand the existing paint all the way off, just sand it a bit to rough it up. You want your new paint to stick well.
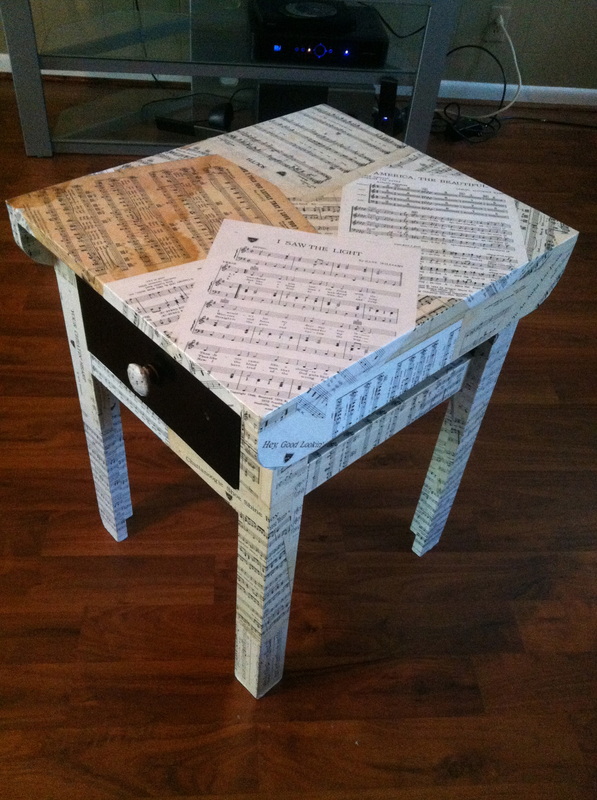
Step 3) Decide what you will want to have sheet music on and what you want to leave a different color. I decided to do a classic black drawer with the rest being sheet music. So whatever you want covered in sheet music, spray paint WHITE. You want a white base beneath the sheet music so it doesn't change the color of the sheet music. Does that make sense? I feel like I'm rambling. I think you get the point.
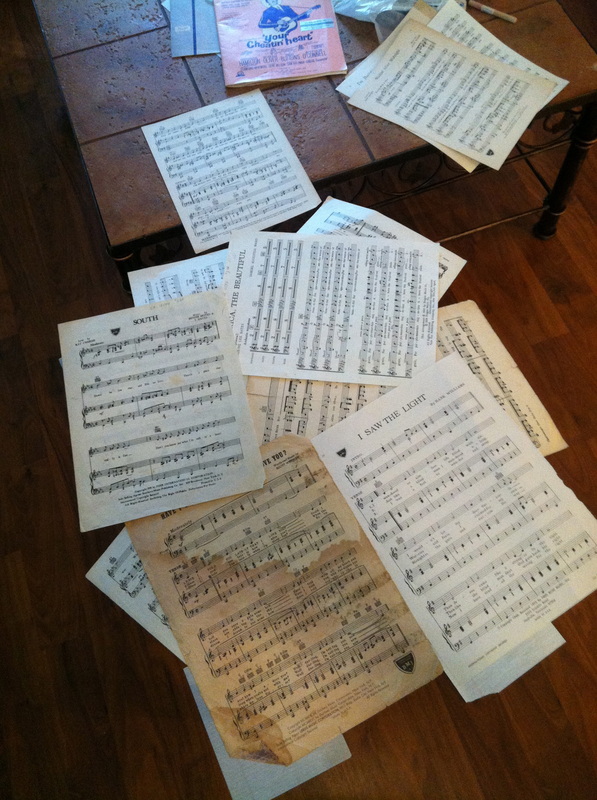
Step 4) Find the sheet music you plan on using. I was at an antique store once and there was an old piano bench. I opened the piano bench and hit the jack pot. There was TONSSSS of old antique sheet music. Naturally, I popped a squat at the antique store and dug in. After looking through probably 200 pages of old sheet music, I walked away with about 30 pages of really cool, old, country songs (Blain works in the country industry and loooooves country music, so I was trying to keep all of the sheet music in that genre). Now, obviously I lucked out and found these awesome pages of sheet music. But! If you don't have any local antique stores and/or you just don't really care... no worries! We can get to the same end point this way too.. print out some sheet music! There are plenty of websites that offer free and printable sheet music. You can either use the fresh clean white printed pages, OR, you can make them "fake antiques" ... hear me out. Take a baking pan (like you'd be making a cake) and pour a cup of coffee in it. Weird? Just stay with me. Then, cover another part of your counter with wax paper or aluminum foil to cover your counter tops (we dont want to stain your counters!) Then, take your print outs, and one by one, soak the sheet of paper in the coffee. Make sure you cover the entire thing and leave in for at least 20 seconds to let it soak in a bit. Lightly pick up the piece of paper by the top 2 corners and hold over the pan to let drain off all extra coffee. Once it's dripping is to a minimum, lay out to dry on the covered counter. Repeat these steps until you have stained all of your print outs. Let dry. In a few hours, you'll have "Antique" looking sheet music!
Step 3) Decide what you will want to have sheet music on and what you want to leave a different color. I decided to do a classic black drawer with the rest being sheet music. So whatever you want covered in sheet music, spray paint WHITE. You want a white base beneath the sheet music so it doesn't change the color of the sheet music. Does that make sense? I feel like I'm rambling. I think you get the point.
Step 4) Find the sheet music you plan on using. I was at an antique store once and there was an old piano bench. I opened the piano bench and hit the jack pot. There was TONSSSS of old antique sheet music. Naturally, I popped a squat at the antique store and dug in. After looking through probably 200 pages of old sheet music, I walked away with about 30 pages of really cool, old, country songs (Blain works in the country industry and loooooves country music, so I was trying to keep all of the sheet music in that genre). Now, obviously I lucked out and found these awesome pages of sheet music. But! If you don't have any local antique stores and/or you just don't really care... no worries! We can get to the same end point this way too.. print out some sheet music! There are plenty of websites that offer free and printable sheet music. You can either use the fresh clean white printed pages, OR, you can make them "fake antiques" ... hear me out. Take a baking pan (like you'd be making a cake) and pour a cup of coffee in it. Weird? Just stay with me. Then, cover another part of your counter with wax paper or aluminum foil to cover your counter tops (we dont want to stain your counters!) Then, take your print outs, and one by one, soak the sheet of paper in the coffee. Make sure you cover the entire thing and leave in for at least 20 seconds to let it soak in a bit. Lightly pick up the piece of paper by the top 2 corners and hold over the pan to let drain off all extra coffee. Once it's dripping is to a minimum, lay out to dry on the covered counter. Repeat these steps until you have stained all of your print outs. Let dry. In a few hours, you'll have "Antique" looking sheet music!
Step 5) Lay out your sheet music. Don't skip this step. There were some titles I wanted to be seen and had I not laid these sheets out beforehand, I probably would've somehow screwed this up. You don't have to keep it exact... but it's good to see where things are going to fall bc once you start using the mod podge, there's not much going backwards.

Step 6) Start mod podging! Take your spongy brush, and put mod podge all over the backside of the sheet music, then lay down onto the surface. Once it's in the place you want to keep it, put mod podge all over the top! Just keep mod podging... slather it all over the place!
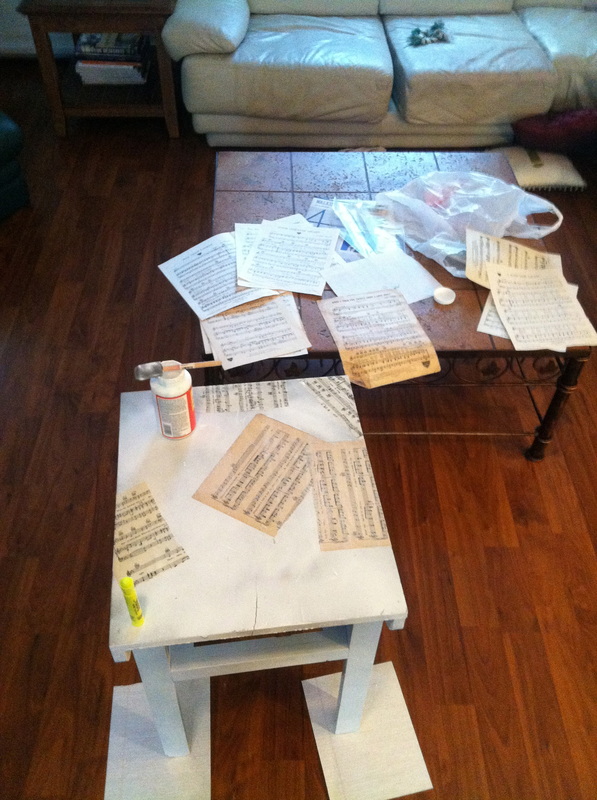

Keep going, keep going keep going. Get the entire piece of furniture covered. You can do it! I started cutting some of the sheet music for the curves and smaller areas of the table... by cutting it to fit the sections better, it saved a lot of worry trying to fold the mod podge drenched pieces of paper... so if you want to cut them up, snip away!
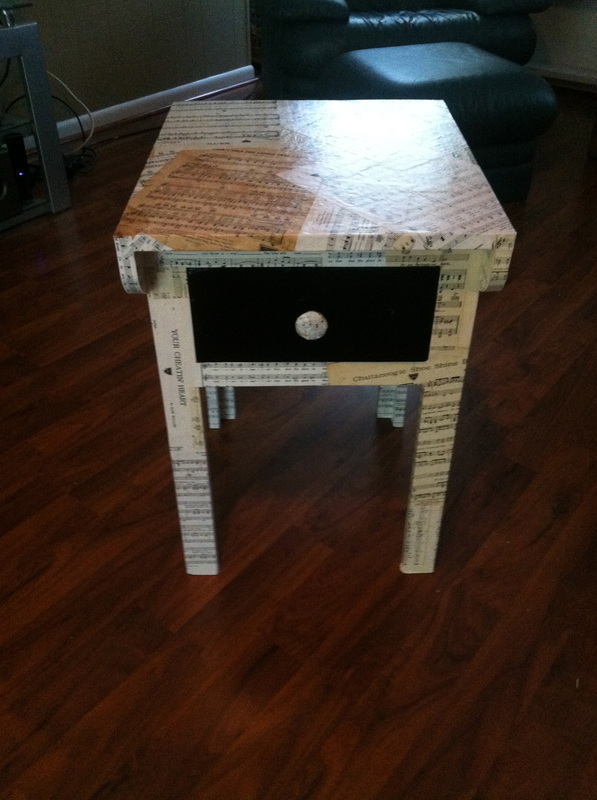
Notice: I took the drawer out since I was keeping it black. Also, not pictured: I took the knob off of the drawer and put sheet music on that as well, to add a little dimension.
Once it's completely covered, let it dry. Thoroughly.
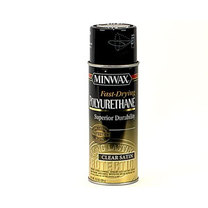
Step 7) Once completely dry, take it outside and spray it down with poly. (Spray the non-sheet music covered parts too. Example: I sprayed the black drawer with this as well). For this project I used Miniwax Fast - Drying Polyurethane spray. It was GREAT. It dried quickly, covered the entire table well, and works GREAT.
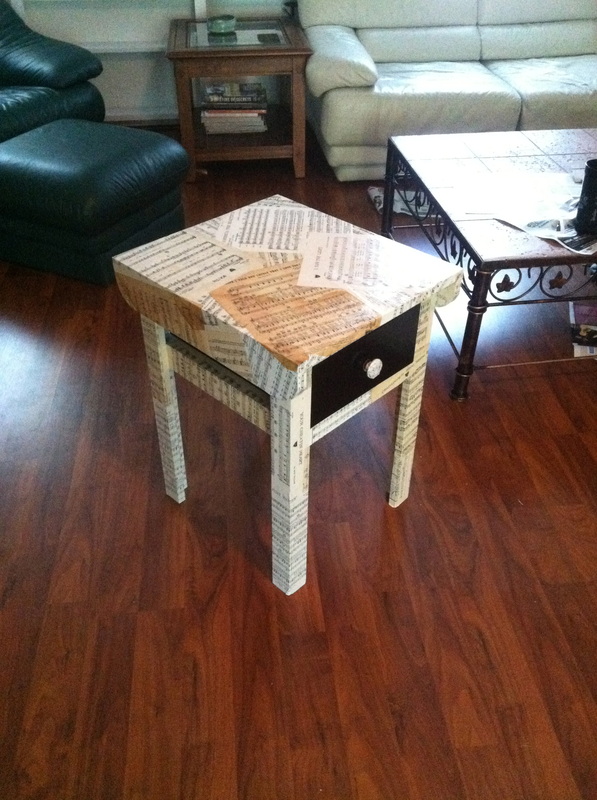
Once it's completely dry... GUESS WHAT??? YOU'RE DONE!
and.... how cute is that?!?
You have a personalized, music themed, new piece of furniture. And you DID IT YOURSELF. Woohoo!
and.... how cute is that?!?
You have a personalized, music themed, new piece of furniture. And you DID IT YOURSELF. Woohoo!
xox,
L
L

 RSS Feed